Essential Knife Skills Every Home Cook Should Master
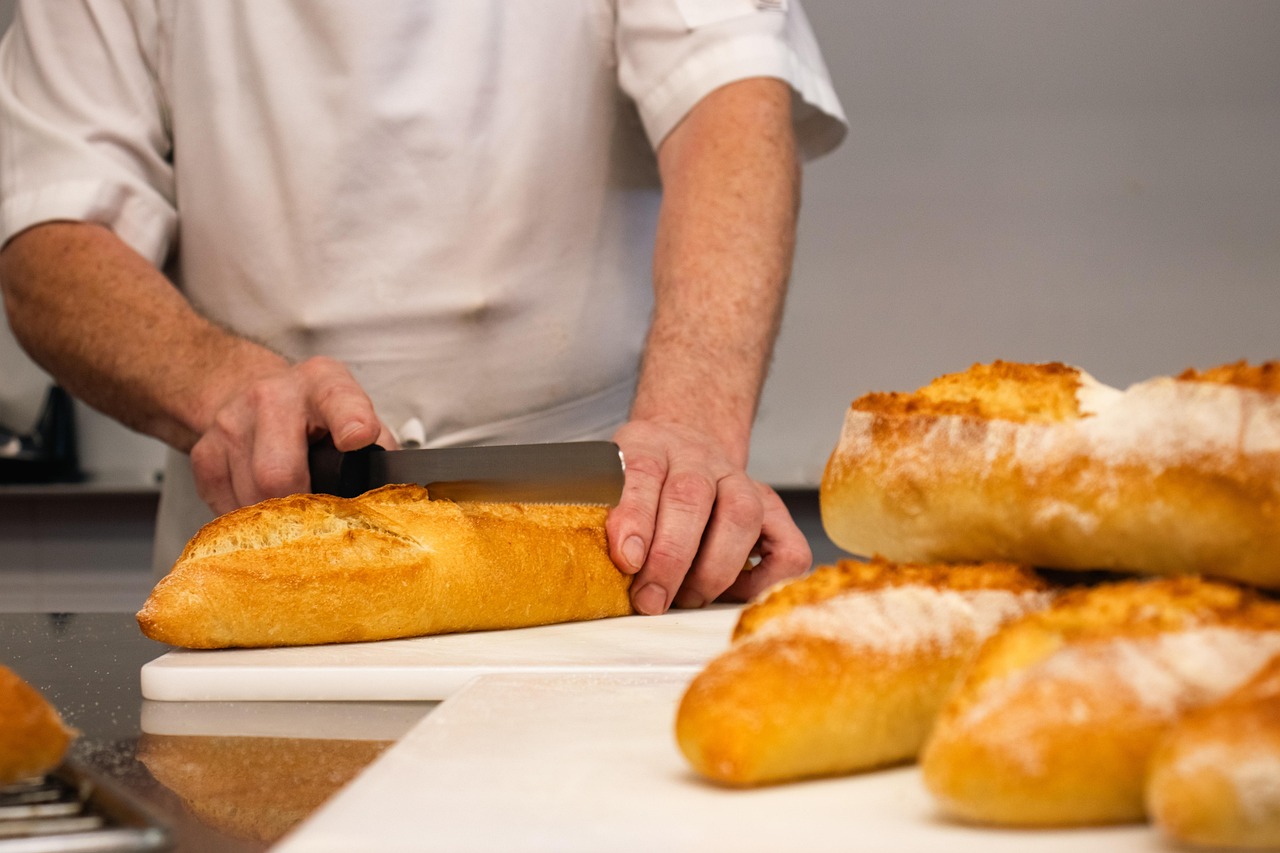
Master fundamental knife techniques to cook faster, safer, and more confidently. Learn proper knife selection, cutting methods, and maintenance tips from professional chefs.
# Essential Knife Skills Every Home Cook Should Master Good knife skills are the foundation of efficient, enjoyable cooking. Whether you're a beginner or seasoned home cook, mastering proper knife techniques will transform your time in the kitchen. You'll work faster, safer, and with more confidence. Let's break down the essential knife skills every home cook should know. ## Why Knife Skills Matter Many home cooks overlook knife skills, thinking they're only for professional chefs. The truth? Proper knife technique benefits everyone. **Benefits of good knife skills:** - **Safety:** Proper technique prevents injuries - **Speed:** Efficient cutting saves prep time - **Consistency:** Uniform cuts cook evenly - **Confidence:** Competence reduces kitchen stress - **Flavor:** Proper cuts affect texture and taste - **Presentation:** Clean cuts make food look more appealing A sharp knife and proper technique are actually safer than a dull knife and poor form. Dull knives slip and require excessive pressure, leading to accidents. ## Essential Kitchen Knives You don't need 20 different knives. Three good knives handle 95% of home cooking tasks. ### The Essential Three **1. Chef's Knife (8-10 inches)** Your workhorse knife for chopping, slicing, dicing, and mincing. This is the knife you'll reach for most often. **Best for:** vegetables, herbs, meats, general cutting tasks **Investment tip:** Buy the best chef's knife you can afford. It's worth it. **2. Paring Knife (3-4 inches)** Small, maneuverable knife for detailed work. **Best for:** peeling, trimming, small vegetables, garlic, shallots, delicate tasks **3. Serrated Bread Knife (8-10 inches)** Long blade with scalloped edge cuts through bread without crushing. **Best for:** bread, tomatoes, cakes, anything with tough exterior and soft interior ### Optional But Useful **Boning knife:** Separating meat from bone **Utility knife:** Medium tasks between chef's knife and paring knife **Kitchen shears:** Herbs, poultry, packaging ## Knife Anatomy and Selection Understanding your knife helps you use it properly. **Key parts:** - **Blade:** Cutting edge - **Spine:** Top, thick part opposite the edge - **Tip:** Pointed end for detailed work - **Heel:** Back part of blade, near handle - **Bolster:** Thick junction between blade and handle - **Handle:** Grip area - **Tang:** Extension of blade into handle (full tang is strongest) **What to look for when buying:** - **Weight balance:** Should feel comfortable, not handle-heavy or blade-heavy - **Comfortable grip:** Handle should fit your hand well - **Quality steel:** High-carbon stainless steel is ideal for home cooks - **Full tang:** Metal extends through entire handle for durability **Budget guidance:** - Good chef's knife: $50-150 - Excellent chef's knife: $150-300 - Paring knife: $10-30 - Bread knife: $20-50 Quality knives last decades with proper care, making them worthwhile investments. ## Proper Knife Grip How you hold your knife dramatically affects control, safety, and comfort. ### The Blade Grip (Recommended) Most professional cooks use this grip for maximum control. **How to hold:** 1. Grip the knife handle with three fingers 2. Place thumb and index finger on opposite sides of the blade, just in front of the handle 3. Pinch the blade firmly but not too tightly 4. Keep wrist straight, forearm aligned with knife **Why it works:** This grip gives you control over both the blade and handle, allowing precise, powerful cuts. **Common mistake:** Gripping only the handle puts all control in your wrist, reducing precision and causing fatigue. ### The Handle Grip (Alternative) Some home cooks prefer gripping only the handle. **How to hold:** 1. Wrap all fingers around handle 2. Thumb rests on side of handle 3. Similar to holding a hammer **When to use:** For tasks requiring less precision or when you're learning and the blade grip feels uncomfortable. ## The Guiding Hand Technique Your non-knife hand is equally important for safety and efficiency. ### The Claw Grip This protective hand position keeps fingertips safe. **How to position:** 1. Curl fingertips inward, forming a claw 2. Knuckles face forward 3. Knife blade rests against knuckles 4. Thumb tucked behind fingers 5. Guide blade with knuckles as you cut **Safety:** Even if the knife slips, it hits your knuckles, not fingertips. **Practice tip:** Start slowly! Speed develops naturally with proper technique. ## Essential Cutting Techniques Master these fundamental cuts and you can tackle any recipe. ### 1. The Rock Chop The most common and versatile cutting motion. **How to do it:** 1. Keep knife tip on cutting board 2. Use tip as a pivot point 3. Lift handle, bringing blade down in rocking motion 4. Move food with guiding hand as you work 5. Blade never fully leaves the board **Best for:** Herbs, vegetables, general chopping **Practice exercise:** Chop parsley. The repetitive motion builds muscle memory. ### 2. Slice Clean, smooth cutting motion for precision. **How to do it:** 1. Place knife tip or heel where you want to start 2. Draw knife through food in one smooth motion 3. Use full length of blade 4. Don't saw back and forth **Best for:** Meats, delicate vegetables, anything requiring clean cuts **Pro tip:** Let the knife do the work. Minimal pressure is needed with sharp blades. ### 3. Dice Creating uniform cubes of food. **Small dice (¼ inch), medium dice (½ inch), large dice (¾ inch)** **How to dice an onion:** 1. Cut onion in half through root 2. Peel, leaving root end intact (it holds everything together) 3. Make horizontal cuts parallel to board, not cutting through root 4. Make vertical cuts perpendicular to board, not cutting through root 5. Finally, slice across perpendicular to both previous cuts 6. Perfect dice falls apart **Why this method works:** The root holds the onion together while you make structural cuts, then releases perfect cubes with the final slice. ### 4. Mince Chopping into very fine pieces. **How to mince garlic:** 1. Crush clove with flat of knife blade 2. Remove peel 3. Roughly chop 4. Rock chop, keeping tip on board 5. Use guiding hand to push garlic back under knife 6. Continue until desired fineness **How to mince herbs:** 1. Gather herbs into tight bunch 2. Use rock chop motion 3. Occasionally stop, gather scattered herbs 4. Continue chopping **Pro tip:** For garlic, a pinch of salt provides traction and helps create a paste. ### 5. Julienne and Matchsticks Creating thin strips. **How to julienne:** 1. Square off vegetable sides 2. Cut into ⅛-inch thick planks 3. Stack planks 4. Cut into ⅛-inch strips **Best for:** Stir-fries, salads, garnishes **Vegetables that julienne well:** Carrots, bell peppers, zucchini, cabbage ### 6. Chiffonade Ribbon-cut for leafy greens and herbs. **How to do it:** 1. Stack leaves 2. Roll tightly like a cigar 3. Slice crosswise into thin ribbons 4. Fluff to separate **Best for:** Basil, mint, spinach, chard, lettuce **When to use:** Garnishes, salads, adding herbs at the end of cooking ## Advanced Techniques Worth Learning Once you master the basics, these techniques expand your repertoire. ### Brunoise The finest dice, typically 1/8 inch or smaller. **Method:** Julienne first, then cut julienned pieces crosswise into tiny cubes. **Uses:** Garnishes, fine mirepoix, elegant presentations ### Bias Cut (Diagonal Slice) Cutting at an angle instead of straight down. **Why:** Exposes more surface area, cooks faster, looks elegant **Best for:** Asparagus, carrots, celery, sausage, flank steak ### Roll Cut Creating irregular, multi-faceted pieces. **How:** 1. Make a diagonal cut 2. Roll vegetable quarter turn 3. Make another diagonal cut 4. Repeat **Best for:** Long vegetables like carrots, parsnips, zucchini in stir-fries or roasting ## Knife Safety Principles Kitchen safety begins with proper knife handling. ### Essential Safety Rules 1. **Keep knives sharp:** Dull knives are dangerous—they slip and require excessive pressure 2. **Cut away from your body:** Never cut toward yourself 3. **Use proper grip:** Both blade grip and claw grip protect you 4. **Stable cutting board:** Place damp towel underneath to prevent slipping 5. **Pay attention:** Don't rush, don't look away while cutting 6. **Clean knives separately:** Don't toss in sink where you can't see them 7. **Proper storage:** Knife block, magnetic strip, or blade guards—never loose in a drawer 8. **Right tool for the job:** Don't use knives as can openers, screwdrivers, or pry bars 9. **Carry properly:** Blade pointing down, announce "knife behind" in busy kitchens 10. **Catch a falling knife:** NEVER try to catch it! Step back and let it fall ### If You Cut Yourself **Immediate action:** 1. Apply direct pressure with clean cloth 2. Elevate above heart if possible 3. Clean with soap and water once bleeding slows 4. Apply antibiotic ointment 5. Bandage securely 6. Seek medical attention for deep cuts or if bleeding doesn't stop **Prevention:** Proper technique and attention prevent most cuts. ## Knife Maintenance Good knives require care to perform well and last decades. ### Cleaning **After each use:** 1. Wash by hand with mild soap and warm water 2. Dry immediately—never let air dry 3. Don't put in dishwasher (harsh detergents and heat damage blades) **Why:** Dishwashers dull edges and can damage handles. ### Honing vs. Sharpening Many home cooks confuse these two different processes. **Honing (use regularly):** - Realigns the blade edge - Do before each use or daily for frequently used knives - Use honing steel or ceramic rod - Doesn't remove metal - Quick maintenance **How to hone:** 1. Hold steel vertically, tip on cutting board 2. Place knife against steel at 15-20 degree angle 3. Draw knife down and across steel, from heel to tip 4. Alternate sides, 5-10 strokes each side 5. Light pressure, consistent angle **Sharpening (occasional):** - Removes metal to create new edge - Do when honing no longer restores sharpness - Use whetstone, electric sharpener, or professional service - More intensive process - Frequency depends on use: 2-4 times per year for home cooks ### Storage **Best options:** - **Knife block:** Protects edges, keeps knives accessible - **Magnetic strip:** Space-saving, displays collection - **In-drawer organizer:** Protects blades, keeps them separated - **Blade guards:** Portable protection **Never:** Store loose in drawer where blades bang together and dull. ## Building Knife Skills: Practice Plan Skills develop through deliberate practice. ### Week 1-2: Grip and Stance - Focus on proper blade grip - Practice claw grip with guiding hand - Chop herbs daily (parsley is perfect practice) - Goal: Comfort and consistency, not speed ### Week 3-4: Basic Cuts - Dice onions (make lots of soup!) - Slice carrots for practice - Mince garlic daily - Goal: Uniform pieces ### Week 5-6: Advanced Cuts - Julienne vegetables for salads and stir-fries - Practice chiffonade on basil and mint - Try brunoise on one carrot - Goal: Precision and variety ### Week 7-8: Speed and Efficiency - Time yourself (without sacrificing safety) - Prep all vegetables for week's meals in one session - Challenge: Complete meal prep in 30 minutes - Goal: Confident, efficient knife work **Practice tip:** Consistency matters more than speed. Speed develops naturally with correct technique. ## Common Mistakes and How to Fix Them ### Mistake 1: Using Dull Knives **Problem:** Requires excessive pressure, slips easily, crushes food **Solution:** Learn to test sharpness (paper test), hone regularly, sharpen when needed ### Mistake 2: Wrong Cutting Board **Problem:** Glass or marble damages blade edges **Solution:** Use wood or plastic cutting boards only ### Mistake 3: Incorrect Grip **Problem:** Reduced control, hand fatigue, inconsistent cuts **Solution:** Practice blade grip until comfortable ### Mistake 4: Rushing **Problem:** Increases injury risk, creates uneven cuts **Solution:** Slow down, speed comes with practice ### Mistake 5: Poor Body Position **Problem:** Back strain, reduced power and control **Solution:** Stand at proper height (elbows slightly bent), board stable, good posture ## Conclusion: Your Journey to Knife Mastery Knife skills are learned through practice, not perfection. Every professional chef started exactly where you are now—picking up a knife and learning the basics. The difference between amateur and professional isn't talent; it's simply practice time. Start with one technique this week. Dice an onion properly. Mince garlic the right way. Chiffonade some basil. Each small skill builds on the last, and before you know it, you'll move through recipes with confidence and efficiency. Good knife skills don't just make cooking faster—they make it more enjoyable. There's genuine satisfaction in precisely dicing vegetables or smoothly slicing through a tomato. These skills last a lifetime and elevate every meal you prepare. Pick up your knife, practice your grip, and start building skills that will serve you forever in the kitchen. What knife skill will you practice first? Share your knife journey in the comments below!