Technique
How to Caramelize Onions: A Step-by-Step Guide
How to caramelize onions properly: how long it really takes, the right heat, how to deglaze, a faster method, and how to store and freeze them.
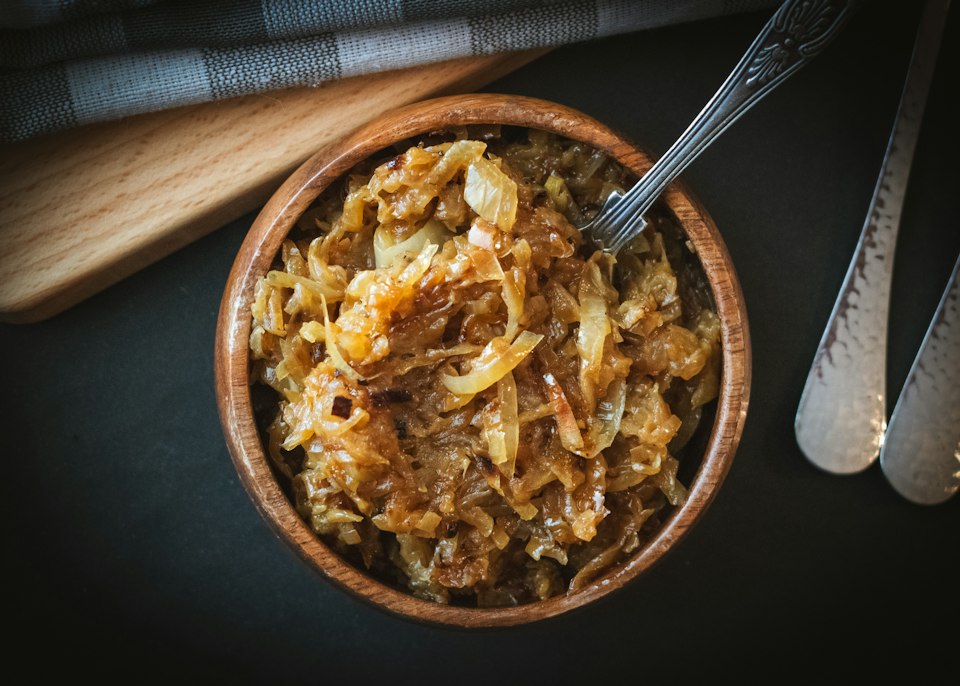
Truly caramelized onions are soft, jammy and deep brown, with a sweetness that tastes almost like toffee. Many recipes claim you can caramelize onions in 10 minutes. You can't: that gives you browned onions, which are good but different. This guide shows how to caramelize onions properly, and how to make the time worthwhile.
What caramelizing actually does
As onions cook slowly, they release water and their natural sugars concentrate and brown. Both caramelization (sugars browning) and the Maillard reaction (sugars and proteins browning) are at work. Both need moderate heat over a long time; turning the heat up just burns the outside before the sugars have time to develop.
Ingredients
- 3 large yellow onions, about 2 lb (900 g). Yellow onions have a good balance of sugar and sharpness; sweet onions work too.
- 2 tablespoons butter, olive oil, or a mix
- ½ teaspoon salt
- Water for deglazing
Expect a lot of shrinkage: 2 pounds of raw onions makes about 1 cup of caramelized onions.
How to caramelize onions, step by step
- Slice evenly. Halve the onions through the root, peel them, and slice them from root to tip about ¼ inch (5 mm) thick. Slicing with the grain helps the slices hold their shape. Even slices cook evenly.
- Use a wide pan. A 12-inch (30 cm) skillet, ideally stainless steel or cast iron, gives the onions room. A non-stick pan works but makes less of the browned residue that adds flavour.
- Start them. Melt the butter or heat the oil over medium heat, add the onions and salt, and toss to coat. The salt draws out moisture and helps them soften. Cook, stirring occasionally, for about 10 minutes until they are soft and translucent.
- Lower the heat. Turn the heat to medium-low. Cook for another 30 to 50 minutes, stirring every few minutes. Spread them back out each time.
- Deglaze as you go. When a brown layer forms on the bottom of the pan, add 2 to 3 tablespoons of water and scrape it up with a wooden spoon. That brown layer is concentrated flavour; stirring it back in is what gives caramelized onions their depth.
- Know when to stop. They are done when they are a deep amber-brown, very soft and jammy, and taste sweet. Season with more salt, or finish with a splash of balsamic or sherry vinegar.
Common mistakes
- Heat too high: the onions blacken in spots while others stay pale and crunchy. Lower the heat and add a splash of water.
- Crowded pan: too many onions steam instead of browning. Use a wider pan or cook in batches.
- Stirring constantly: they need some contact time with the pan to brown. Stir every few minutes, not continuously.
- Adding sugar: unnecessary. Onions have plenty of their own, and extra sugar burns easily.
Can you caramelize onions faster?
A little. Cooking them over medium heat with frequent deglazing gets you a good result in about 25 to 30 minutes, with a little less depth. A pinch of baking soda (about ⅛ teaspoon for 2 pounds) speeds browning by raising the pH, but the onions turn soft and mushy, so it suits soups and dips better than toppings.
Making a big batch in the oven or a slow cooker frees up the stove: cook sliced onions with butter, covered, until soft, then uncovered to let the liquid evaporate and the onions brown. It takes hours but needs little attention.
How to store and freeze caramelized onions
Cool them quickly and refrigerate in a covered container for 3 to 4 days. To freeze, spoon tablespoon-sized portions into an ice-cube tray, freeze, then transfer to a labelled bag. They keep their best quality for about 3 months and can go straight from frozen into a hot pan or pot.
How to use them
Stir them into soup, pile them onto burgers and sandwiches, fold them into an omelette, or spread them on toast with goat cheese. A spoonful adds sweetness and depth to our creamy tomato soup or butternut squash soup, and they are excellent tucked into black bean tacos.
For an even faster dinner base, learn the basic knife cuts in five knife cuts every cook should know.
Recipes from this article
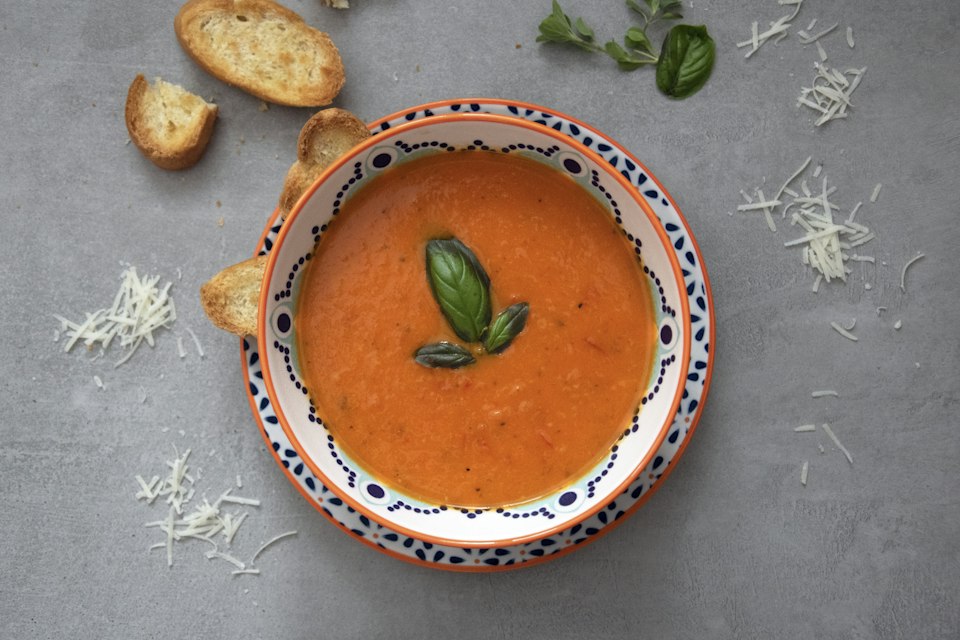
Creamy Tomato Soup
Smooth tomato soup made from canned whole tomatoes, onion and garlic, finished with cream and basil. About 40 minutes.
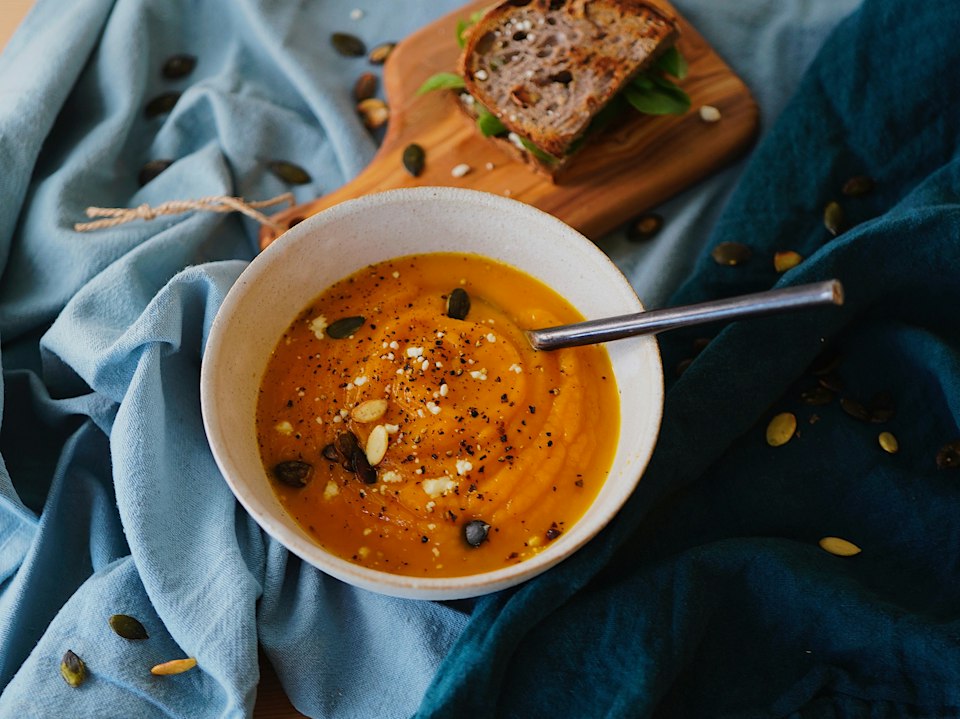
Roasted Butternut Squash Soup
Silky vegan butternut squash soup: the squash is roasted first for deeper flavour, then simmered with onion, garlic and a little nutmeg.
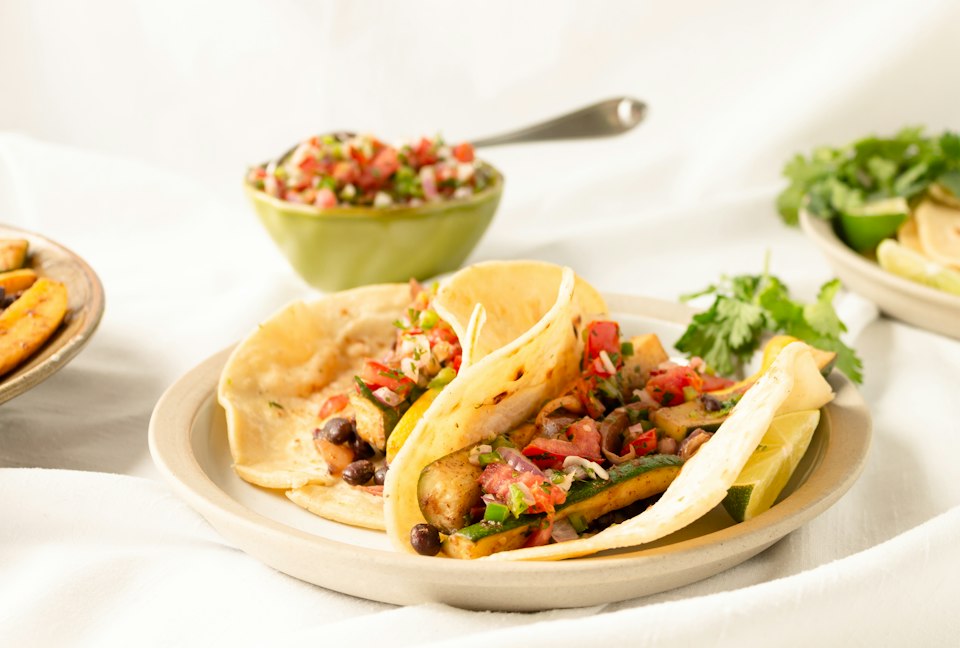
Crispy Black Bean Tacos
Pan-fried corn tortillas filled with spiced mashed black beans and melted cheese, topped with a quick lime slaw. 30 minutes.
More from the blog
How to Cook Rice on the Stove (Fluffy Every Time)
How to cook rice on the stove: water ratios for white and brown rice, timing, why resting matters, and how to store cooked rice safely.
How to Hard Boil Eggs That Are Easy to Peel
How to hard boil eggs with tender whites and no green ring, two reliable methods, a timing chart for soft to hard yolks, and tips for easy peeling.